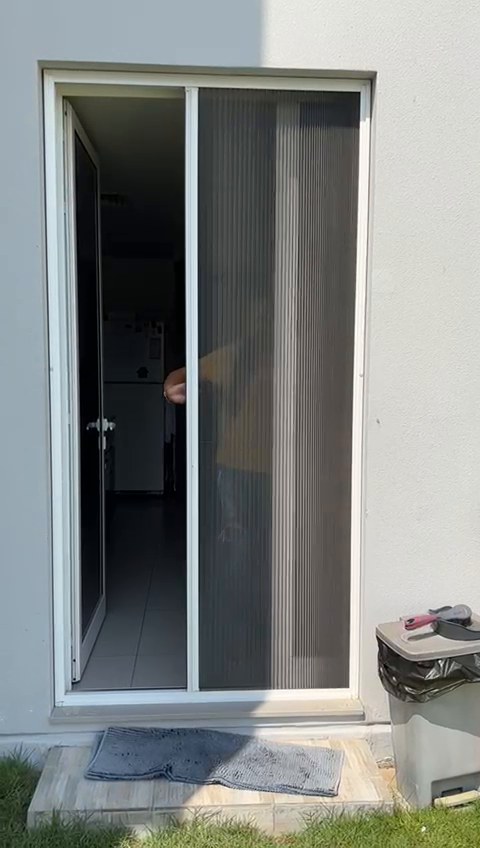

From a few steps away, a finished fly screen looks like one simple object. A frame, some mesh, done. The making of it is a short chain of steps, and each one decides whether the screen fits your window properly or leaves gaps for insects to slip through.
This guide explains how fly screens are made in a real workshop. We make every screen in our Dubai workshop to the exact measurements of your windows, so the steps below are the steps your own screens go through.
Step 1: Measuring the window
Everything starts at your window. A technician visits your home, measures each opening at several points, and records the window type: sliding, hinged, or fixed. Window frames in the UAE are rarely perfectly square, so the width is measured at the top, middle, and bottom, and the height at the left, centre, and right. The smallest reading decides the screen size, with a small clearance deduction so the screen sits in place without jamming.
The measurement visit is free. You can book it by calling +971 52 443 2655 or on WhatsApp at wa.me/971524432655. It usually takes 15 to 30 minutes depending on how many windows you have.
Each window gets a label: which room it belongs to, the window type, and the final screen dimensions. Photos are taken as well, so the workshop team can see frame details that numbers alone do not show.
Step 2: Cutting the aluminium profiles
Back at the workshop, the cut list goes to the cutting station. Aluminium profiles are long lengths of extruded aluminium in the frame shape your screen needs. The technician marks each length and cuts it on a mitre saw at 45 degrees, so the four pieces meet at clean, tight corners.
Cutting is where accuracy matters most. A cut that is a millimetre too long leaves a corner that will not close. A cut that is a millimetre too short leaves a visible gap. Every piece is measured twice before the blade comes down, and the cut ends are deburred so no sharp edges remain.
Step 3: Joining the corners
The four cut pieces are laid out on an assembly bench. Inside each corner goes a corner cleat, a small L-shaped bracket that slides into the hollow of the profile. The pieces are pushed together over the cleats, the frame is squared up with a try square, and screws lock each corner in place.
A properly joined frame sits flat on the bench with no rocking. If one corner lifts, the frame is re-squared before anything else happens. A frame that is not square at this stage will never fit the window well, so this check is never skipped.
Step 4: Fitting the mesh
With the frame joined, it is time for the mesh. A roll of fibreglass mesh is unrolled over the frame with enough overlap on all four sides. A rubber cord called spline is pressed into the groove that runs around the inside of the frame, using a small roller tool. The spline traps the mesh in the groove and pulls it taut as it goes.
The technician works around the frame in a pattern that keeps the weave straight: one long side first, then the opposite side, then the short sides. Keeping the mesh square while rolling the spline in is a skill that comes from practice. Once the spline is fully seated, the excess mesh is trimmed with a sharp blade along the outside of the groove.
There is more detail on the technique in our article about how mesh is fitted into fly screen frames.
Step 5: Handles and fittings
Sliding and openable screens get their hardware at this point: pull handles, rollers, or hinges depending on the screen type. Each fitting is screwed into the aluminium and tested by hand. A handle that flexes or a roller that sticks is replaced before the screen leaves the bench. Fixed screens skip this step entirely, since they sit in the frame and stay put.
Step 6: Final checks before the screen leaves the workshop
Every finished screen goes through a final check. The technician measures the diagonals to confirm the frame is square, runs a hand across the mesh to feel for loose spots, checks that the spline sits fully in its groove all the way around, and confirms the corners are tight with no gaps.
Only screens that pass this check are wrapped and marked for delivery. The same technician who measured your windows usually fits the screens, so the person installing them already knows each window and each screen by its label.
From workshop to your windows
The whole process, from the free measurement visit to fitting, takes a few working days. Because everything is made in one Dubai workshop, there is no waiting on shipments and no guessing about sizes. If a screen ever needs a repair, the workshop that made it can re-mesh the frame or make a replacement part.
To see where all of this happens, take a look inside our Dubai fly screen workshop.
FAQ
Are fly screens made to order?
Ours are. Every screen is made in our Dubai workshop to the measurements taken at your home during the free measurement visit. There are no standard sizes sitting on a shelf.
How long does it take to make a fly screen?
From the measurement visit to fitting usually takes a few working days. The exact timing depends on how many screens you need. You get a clear timeline at the measurement visit, and the quote is free at the measurement visit.
What is a fly screen frame made of?
The frames we make are aluminium: light, strong, and rust-proof, which matters in the UAE climate. The mesh is fibreglass, which keeps its shape and does not corrode.
Can you make screens for any window type?
We make screens for sliding windows and doors, hinged windows, and fixed windows. The measurement visit covers each window individually so the screen type matches the window type.
Do you serve areas outside Dubai?
Yes. The workshop is in Dubai and we serve Dubai, Sharjah, Ajman, Abu Dhabi, and Ras Al Khaimah.

